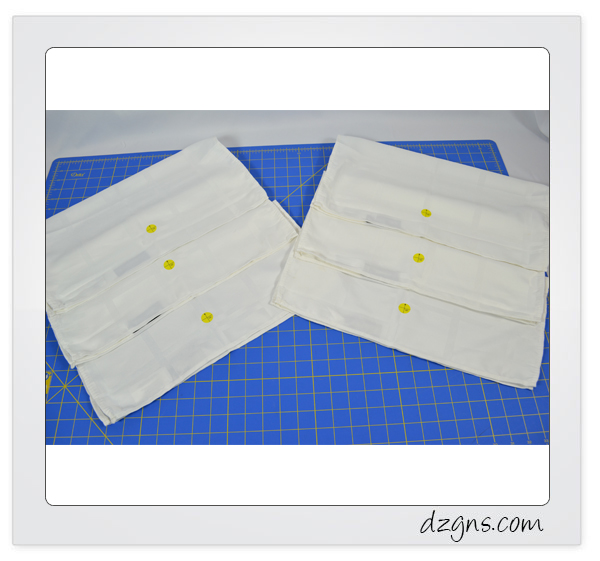
The holidays are right around the corner but there is plenty of time to stitch a set of monogrammed napkins for the Thanksgiving table. Embroidered napkins are an extremely thoughtful host gift and if you plan accordingly, this set of simple monogrammed napkins can be used throughout the year. I chose an elegant script font and used a classic gold thread; not metallic thread but polyester embroidery thread which will hold up when laundered without fading.
Step 1: Use a water based adhesive tear away stabilizer. The stabilizer is a tear away but becomes sticky when the shiny surface is moistened with a sponge or a spritz bottle of water.
Step 2: Mark the location for the initial on the napkins ahead of time by using our Target Ruler and Target Stickers.This set of napkins will be embroidered 2 ½ inches above the hem in the bottom center of the napkin. The initial measures 2 inches tall. Place the napkins aside when all are marked with target stickers.


Step 3: Use the largest hoop available if embroidering 6 or more napkins. Place the tear away stabilizer in the hoop. The stabilizer will have a shiny surface on one side which should be placed right side up.
Step 4: Position the automatic basting file around the initial at the embroidery machine. If your machine does not have this amazing feature, create your own basting file in software. I like to match the basting file thread color to the base fabric. Step 5: Moisten one small area of the stabilizer; I suggest starting at the top right corner and work down and to the left of the hoop. All of the napkins will be placed on the hoop eventually but only place one at a time and complete stitching. This might seem cumbersome and awkward but it works really well and saves the time of un-hooping and re-hooping each napkin.
Step 6: Use the live camera feature if available on your machine to accurately line up the needle with the crosshair on the target sticker. Keep all target stickers until positioned precisely. See how easy the camera makes it? You can manually position the needle over the crosshair by using the “jog” keys.
Step 7: Follow the same procedure for the remaining napkins. Carefully fold over the stitched napkin when complete and hold in place with painters tape if needed.


Step 8: Remove the stabilizer from the hoop when all napkins are stitched. Carefully trim the basting file stitches from the back side of the stabilizer; this eliminates the chance of snipping the right side of the fabric.

Step 9: Enjoy giving a beautiful set of monogrammed napkins this season, or keep them for yourself!
*Click the link below for a special coupon for my Craftsy class “How to Start a Machine Embroidery Business” with Marie Zinno.
https://www.craftsy.com/ext/MarieZinno_4963_H


5 COMMENTS
Erich Campbell
9 years agoThis is exactly what I made my woodcut turkey design for- my wife wanted to give turkey napkins to her family for the big day. 🙂 http://www.theonlystitch.com/product/woodcut-turkey-embroidery-design/
Lori Woodward
9 years agoWhat if we don’t have a camera, any good hints for lining up multiple napkins?
Belinda
8 years agoYou can just add one design for your large hoop. Move the first one to one side of the hoop. Drop your needle, that should be the center of the design, place your first napkin accordingly. When done move the design to another location within the hoop, repeat. Works for me.
WillieMae Charles
5 years agoGood morning,
I am very excited to be a part of your machine embroidery blog. There is so much to learn and just having gotten my first multi needle machine it couldn’t come at a better time. How would you put a boarder around the edge of a table cloth?
Patricia Blair
4 years agoIf only I had the courage to try this