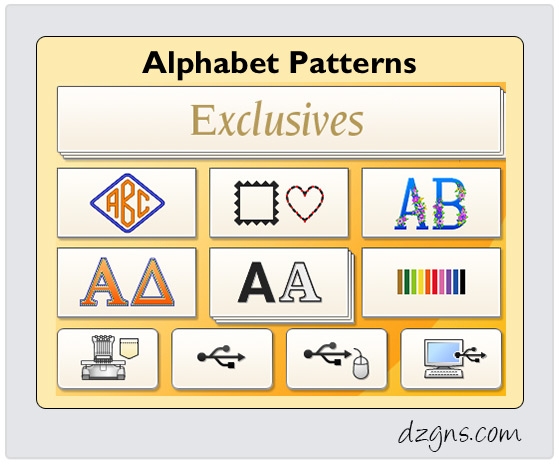
The Baby Lock Enterprise has 28 built-in fonts ranging from, numbers and symbols, accented characters, floral alphabet, Greek alphabet and a special monogram. All of these built-in fonts allow for endless editing choices.
Created by: Diane Kron, Software and Embroidery Project Manager for Designer’s Gallery
Supplies:
Enterprise Multi-Needle Embroidery Machines by Baby Lock®
Built-in alphabets
At the Embroidery Machine:
- On the Pattern Selection Screen, touch the Alphabet Key to access the different font choices. Using the up/down arrows, choose the desired font from the list. There are four pages of fonts to choose from.
- To place the phrase on the workspace, select the first character from the phrase “Fun @ the Zoo!”. Touch the Resize key
 to choose the character size L (Large), M (Medium) or S (Small). Type in the first letter in the phrase using the upper case letter field. Select the lower case font and enter the remaining letters using lower case letters. To enter the @ sign, select the punctuation field. While entering the letters and characters, it is easy to switch back and forth between the different fields. Use the Character Spacer
  to place a space between each of the words. Use the Check Key to review the text. If any changes are needed, make them at this time. Touch the Close Key. Click on Set.
- To change the text arrangement, touch the Array key
 . When the new screen opens, there are six different options to choose from. For this project, select the second text option highlighted in blue (as shown below). To change the arc of the curve, there are two different options (as shown below inside the red box). To adjust the arc of the curve, select the first option. Use the second option to create a circle or any arc size in between. Click on Close when the arc is the desired size.
- To change the spacing between characters, select the Spacing Tab. Use the two spacing keys to uniformly expand or decrease the space between the characters in the phrase (as shown below). When satisfied with the spacing, click on Close.
- To adjust the density on the lettering, select Density. Move the slider either to the right for more density (120%) or to the left for less density (80%). Click on Close when the density is set.
- To change colors between each of the letters or between words, select the Multi Color option. Select the Color Palette option (as shown in the first illustration below). Each of the letters can then be assigned a different color (as shown in the second illustration below). To assign the letters a different color, use the Plus and Minus keys to move throughout the letters, select the thread color of choice for each letter.
- The lettering design is ready to embroidery.
Have fun while using built-in fonts for your next project!


2 COMMENTS
Karen
10 years agoThanks for the info. I purchased the Enterprise on Saturday. So much to learn.
Nancy
10 years agoWould love to know more about the Babylock Endurance II , like how does it differ from the Enterprize other than the # of needles and can u apply same info to it . Thanks for your blog and info u post, I enjoy it very much.