Last week, I showed how to stitch multiple napkins in on a single-needle machine. Today, let’s look at how to do it on a multi-needle machine.
The set-up is the same: Mark the location of the corner monogram on each of the six napkins. I use the Napkin On-Point template from the Perfect Placement Kit – no math, no measuring. Just place the template on the napkin aligning the guides with the stitched hem and then insert a target sticker into the hole with the arrow pointing towards the body of the napkin. Repeat for all six napkins – you’ll finish this task in under two minutes.
Select the largest hoop available and hoop tear-away stabilizer. I selected the 8” x 12” standard hoop but Multi-Needle Monster would also work very well. Use one of three options for holding the napkin on the stabilizer: spray the hooped stabilizer with temporary adhesive, hoop adhesive tear-away stabilizer or use painter’s tape. I used adhesive tear-away stabilizer.
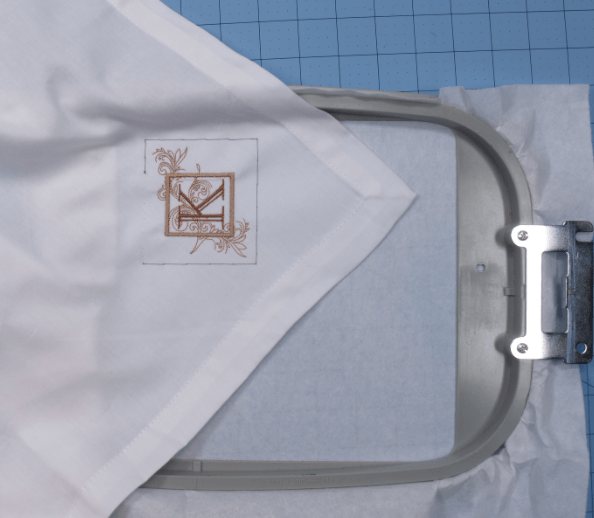
Position the first napkin in the bottom left corner of the hoop. Center the needle over the target sticker, remove the sticker and embroider the design. If your machine has a baste feature, use it! Move the design to the top left corner of the hoop. Fold the napkin out of the new sewing field and lay the second napkin in place. Smooth the napkin onto the adhesive stabilizer. Stitch the design. 
Fold up both napkin tips and tape them down. 
Place the third napkin below the second napkin. Smooth in place making sure the design area is not overlapped with the second napkin. Position the needle over the target sticker. 
If your machine has a trace feature, use it to verify the needle will not stitch on the first napkin. Once you’re confident the first napkin is out of the sewing field, remove the sticker and embroider the design. 
Fold and tape the side of the napkin and move the design just below the third napkin. 
Tape the corners of napkins three and four. 
Repeat the process for napkin five. 
Remove the stabilizer from the hoop and clip the basting stitches before tearing away the stabilizer. 
Wow –six napkins in a flash!


9 COMMENTS
Gail Beam
10 years agoAlways lovereading your tutorials for doing embroidery.
judit z
10 years agoNow love this tutorial …… I actually would like to use them for bibs…. several in a big hoop
thanks
Nelda McCain
10 years agoThank you, I waste more stabilizer by not doing it this way..
Colleen Bell
10 years agoYou are so good at this!
PS could you please tell us where the design can be found? Thank you.
eileenroche
10 years ago AUTHORSure, Colleen. The design is from Great Notions, Home Décor Scroll Embroidery Pack (112439). It’s gorgeous!
Colleen Bell
10 years agoThank you so much. That saved me a lot of searching. It is a great design.
Carolyn Havens
10 years agoThis is great, can’t wait to try it. I need all the help I can get!
Alicia Key
10 years agoExcellent idea for more streamlined multiple embroideries!
Joyce Lockyer
9 years agoThank you! I love your craftsy class! Could you tell me how much stabilize you are able to remove? I have a difficult time removing the stabilizer and am unsure if leaving some in the design is acceptable.